
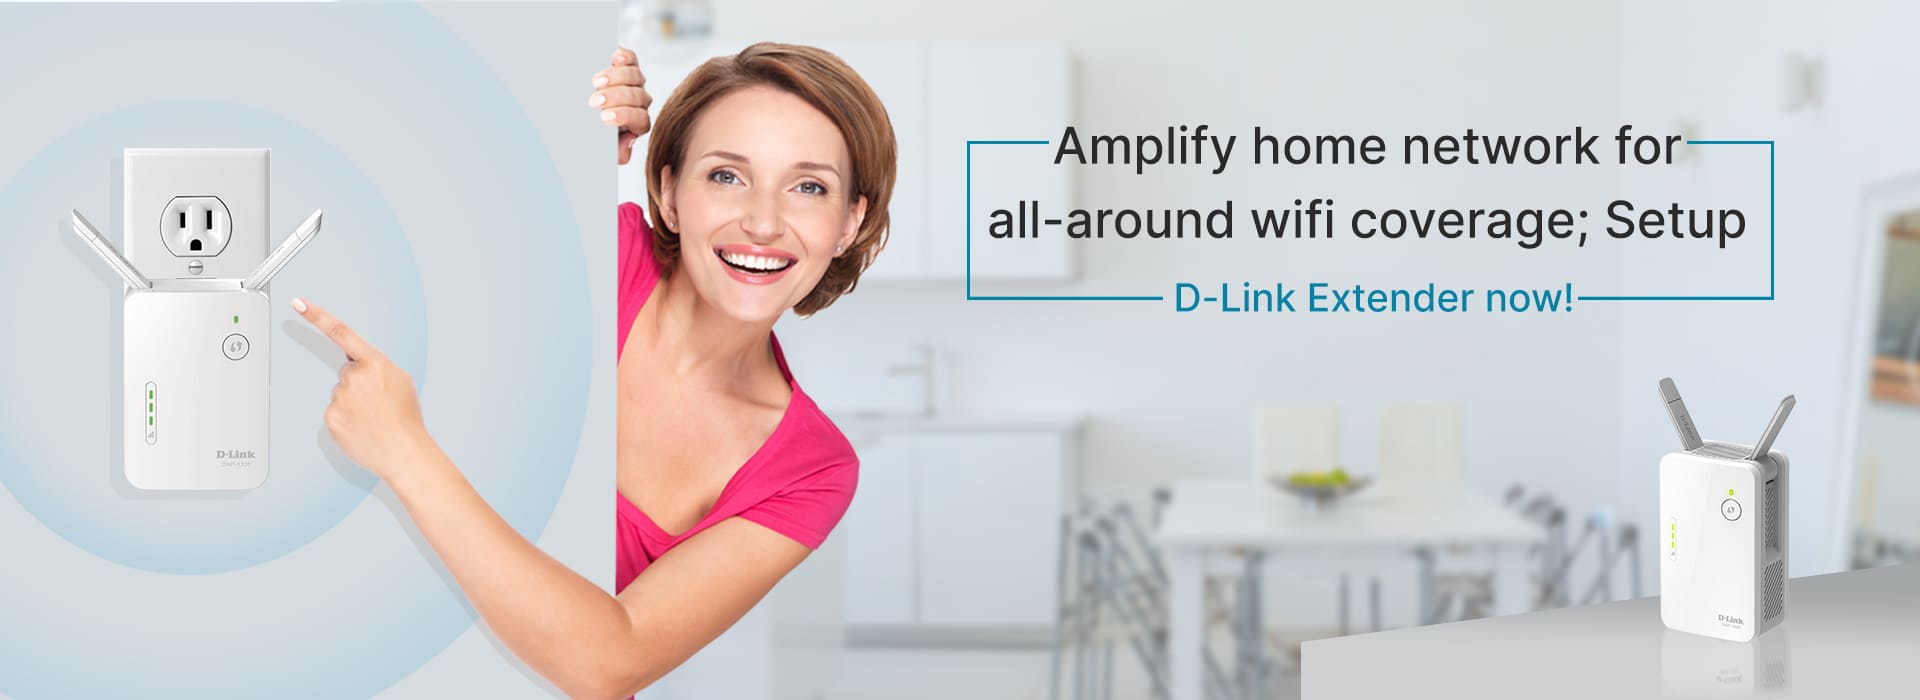
The given blog briefly explains the d-link dap 1320 setup process. But before that, let us first know some general information regarding the wireless network. The D-Link DAP-1320 empowers you to expand your current wireless system coverage by setting up the Wireless Range Extender in the middle of your router and the remote customer device. The DAP-1320 expands the scope of your remote system by broadening the remote coverage of a current wireless system. As D-link is the best networking device likewise, you can easily perform the d-link dap 1320 setup and easily sign into your d-link dap 1320 login page. With the help of smart setup wizard, you can easily reset your extender to its factory settings or perform D-link dap 1320 firmware update procedure. Go through the blog, to get more information about the d-link dap 1320 setup process. You can dial our toll-free number if you need to more about the process.
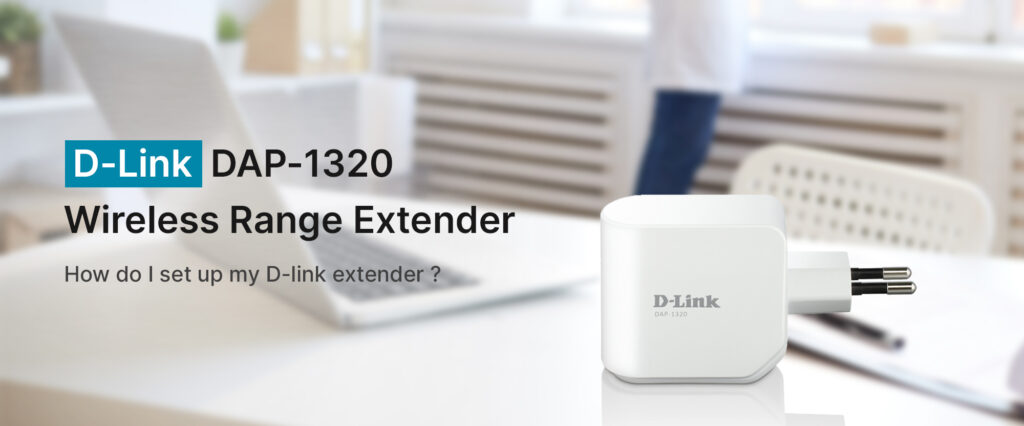
How do I set up my D-link extender ?
Setting up your wireless range extender is an easy and simple task. Once installed, the D-link range extender will increase the speed and coverage of your network. But before the d-link dap 1320 setup process, you need to sign into the d-link dap 1320 login page. Given are the steps you need to pursue, to configure your wireless range extender;
- Go to your computer or laptop; open a web portal like Firefox, chrome, internet explorer etc.
- Now, enter the web address http://dlinkap.local/ or you can also use the default IP address http://192.168.0.50 in the address bar of your browser.
- Then, click on the “login” tab and sign into your extender’s admin page.
Now, after signing into your extender’s admin page, you need to set up your extender.
- Once logged in, the setup wizard will appear on your screen.
- It will check the available network connections, select your network name.
With the help of the setup wizard, you can change the default settings such as SSID, password, perform D-link dap 1320 firmware update process etc. In case, you need to know more about the setup process, dial our toll-free number or visit us live.
How to perform the D-link DAP 1320 Firmware Update process ?
Some firmware upgrades, revert all settings back to their factory default settings. In case, if this happens, you might need to re-upgrade the firmware. Follow the steps to upgrade the firmware;
- You need to first download the latest firmware from the official website.
- Then, log into your DAP-1320.
- Select the ‘firmware update’ option and it will start updating the firmware.
In any case, that your D-link extender is not working still, you need to reset your device.
- You can do this by pressing the reset button present on the extender.
- Press and hold the button for 10 seconds.
- The DAP-1320 will reboot and be at its factory default settings.
If you still face any problem regarding the d-link dap 1320 setup process, call our toll-free number available 24*7. You can also have a live chat with our technical support team.