
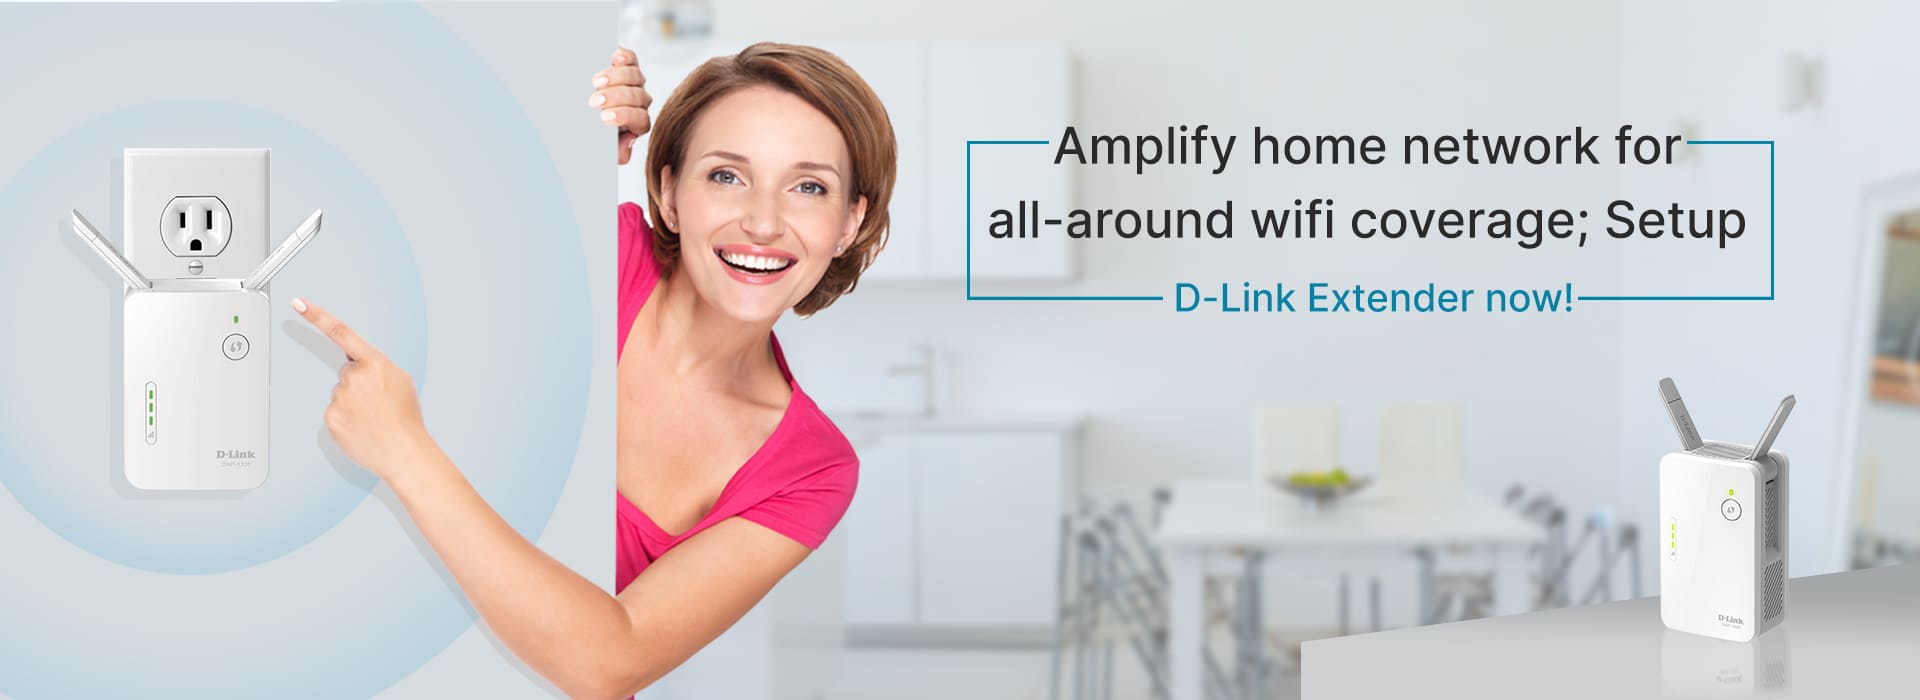
Dlink DAP 1720 Range Extender Setup, Reset, and Firmware Update
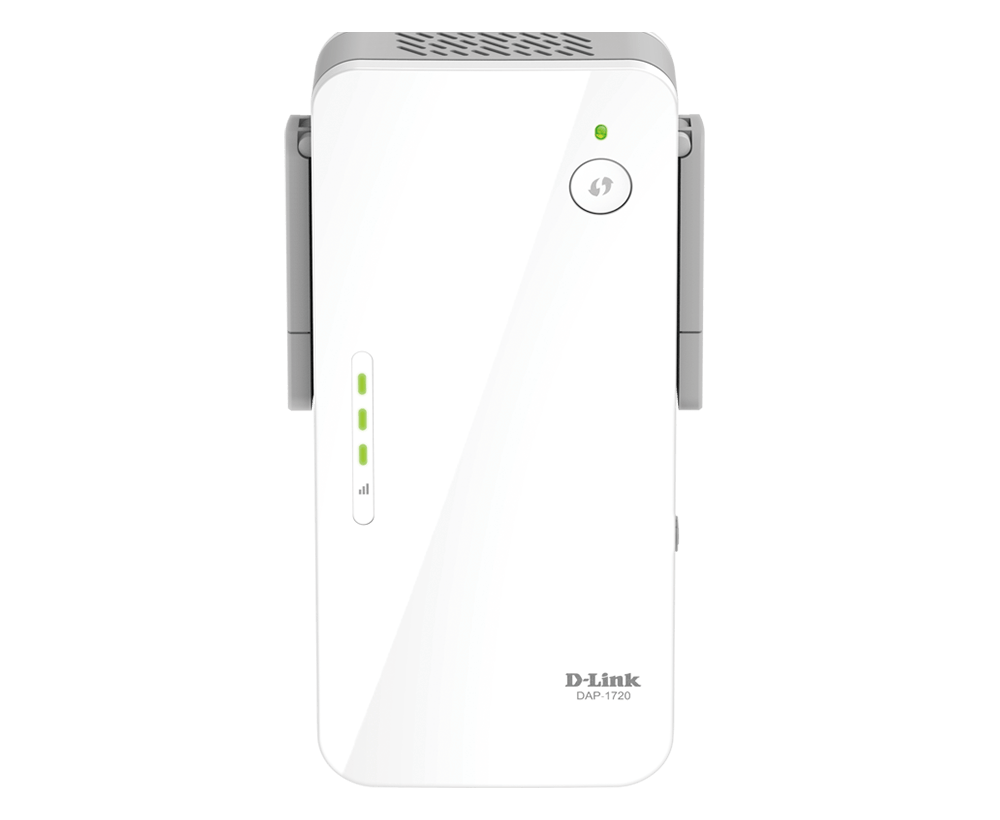
Range extenders are probably the best thing that has happened in the world of networking. They have helped users greatly in accessing the internet and accomplishing feats that wouldn’t have been possible without their use. Devices like the D link DAP 1720 setup and more are among the leaders in the range extender market. Easy to set up, control, and use, these devices from D-Link have become an absolute favorite of everyone.
If you have also purchased a new D-Link DAP 1720 setup for your home, learning the steps to access the network settings wizard and the actual configuration will help you ensure a seamless web experience as well. This blog will walk you through the easy steps to configure the dlink extender setup using the default web address dlinkap.local and also suggest ways to troubleshoot set-up-related issues using techniques like the dlink dap 1720 reset and more. So, brace yourself, and let’s get started with the requirements for the setup process.
Things you need for d link dap 1720 setup
Before you start with any of the steps, you will need to understand that the D-Link DAP 1720 device is a range extender that does not work without the help of a router. If you have to set up the extender, you will need to connect it to a router network. So, you will need the details associated with your main router device as well. In addition, you will also need the details related to the extender. These are:
- the default IP/web address
- Admin Username
- Admin Password
The details related to the router can be found by logging in to its setup wizard, while the details related to your extender can be found on the product label or in the product user manual. For your reference, you can always use the default D-Link DAP 1720 setup details as mentioned below:
Default web address: http://dlinkap.local
Default IP address: 192.168.0.1
Admin username: admin
Password: admin
Once you have these details with you, you can proceed with the Dlink DAP 1720 login process.
D-Link DAP 1720 Login Process
connect your extender to a computer/smartphone device using a wired or wireless connection.
- For a wired connection, you can connect your extender to the computer using an ethernet cable. Connect a cable between the LAN ports on your extender and the computer.
- For a wireless connection, you can connect your computer or smartphone to the extender wirelessly using the WiFi connection.
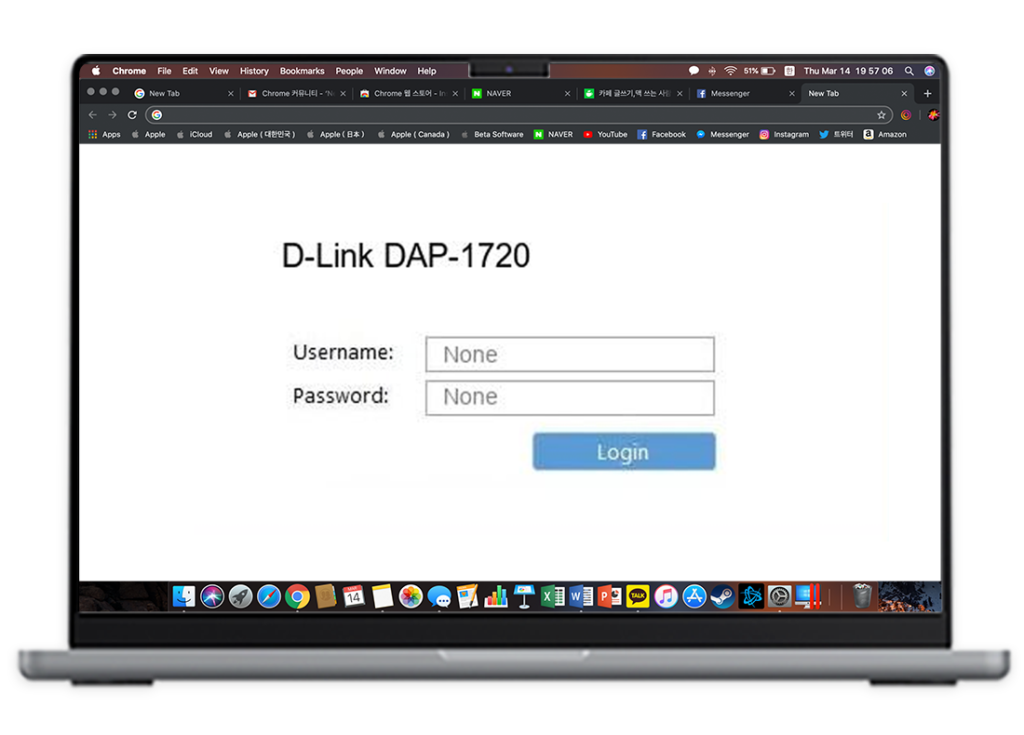
- Launch a compatible web browser on your computer like Mozilla Firefox, Internet Explorer, Apple Safari, Google Chrome, Microsoft Edge, etc. In the address bar, type the default web address http://dlinkap.local and press Enter.
- This will take you to the default D-Link extender login page. You will see the username and password fields become visible on the screen.
- Now, type in the login information including the admin username and password details in their respective fields, and then click on the Login button.
- The login wizard will validate your credentials and then log you into the D-Link DAP 1720 setup wizard.
D-Link DAP 1720 Setup Process
network you wish to set up. You can proceed with the network configuration process using these steps:
- Select the appropriate network type you wish to proceed with. Click on Next.
- The dlink extender setup wizard will now scan for the available networks in your area and display a list of the same on the screen.
- Once you have the list of the same, find and connect to the main router’s SSID using the connection details. If you are using a dual-band router, you will need to connect to the 5GHz band separately. Once connected, you can click on the Next button to proceed with the setup process.
- The setup wizard will now ask you to configure the network details like the SSID and password. You can configure the same in the Wireless Setup window. Assign a unique-looking network SSID to the 2.4GHz and the 5GHz network and assign a strong password to protect them from unauthorized access. Once you have edited the details, click on the Save button to proceed.
- The setup wizard will now ask you to configure the admin details of your range extender device. These details will help secure your extender from someone accessing the device settings and modifying them without authority. Assign a new admin username and password and click on the Next button.
- You will now see a summary page with a list of all the settings you have just configured. Review the same and then click on the Finish button to complete the D Link DAP 1720 setup process.
The d-link extender setup process is now complete and you can connect your devices to the network easily.
D-Link Extender Firmware Update Process
The firmware of your D-Link DAP 1720 setup can be updated easily using the setup wizard. Or, you can always enable the auto-firmware update option and allow the extender to keep itself updated at all times. To update the firmware manually, simply sign in to the setup wizard and then access the Router Admin Settings. Here, select the Firmware Update options and click on Check for Updates. If there’s an update available, you will see an Update Available icon become visible on the screen. Simply, click on the Update button to start the firmware update process.
D-Link Extender RESET Process
If you face issues with the D-Link DAP 1720 setup or login, you can always restart your device to alleviate issues with the same. However, if the issues do not go away, you can reset your extender to reconfigure the device and start with the setup process again. Here are some steps you can follow:
- Find the RESET button on your DAP 1720 setup. You will find it on the rear or the side panels.
- Press and hold the button for about 10 seconds till the device restarts itself. Once it has restarted, you can reconfigure the extender settings.
FAQ's
The default password for your Dlink DAP 1720 setup is admin. You can locate these details from the product label pasted onto your extender or get the same from the product user manual that comes with the same.
The Dlink Extender receives the signals from the main router. Once it does, it amplifies the signals and then retransmits them further so as to increase their reach. Once you have connected your D-Link 1720 extender to the main router, you will need to keep the extender at a location where you are getting low signals.
You can sign in to the D-link DAP 1720 setup wizard using the access credentials. Once you have access, head to the extender settings and select the operational mode as an Access point. Save the settings and the extender will restart itself.
Yes, the D-Link DAP 1720 extender is a dual-band wifi extender and you can connect to its network easily using the connection details.
Yes, you can connect your DAP 1720 to an existing wired network using an ethernet cable. Once connected you can start using the internet easily.