
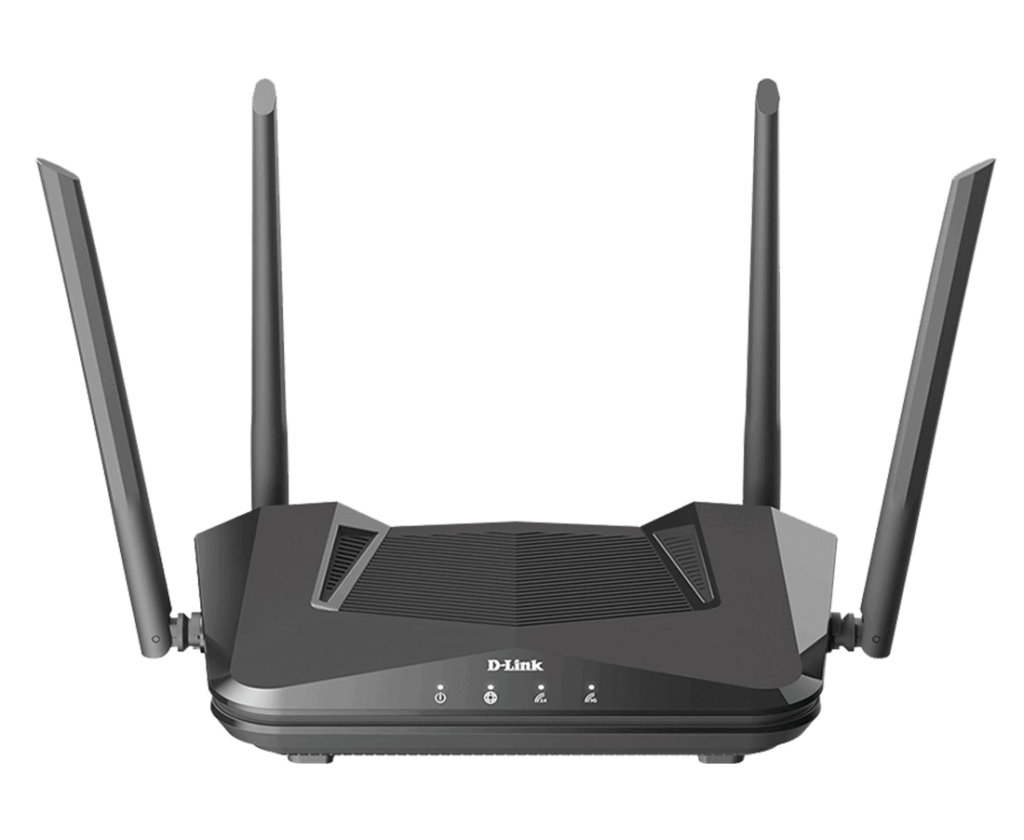
D-Link X1560 Setup
Steps for Dlink X1560 setup
Walk through these steps to go about the Dlink router setup using the default private address dlinkrouter.local. Follow the steps below:
- Turn On your router and connect it to the modem using an Ethernet cable.
- After that, connect your computer to the router using another Ethernet cable.
- Next, launch a web browser on your system to access the Dlink X1560 setup wizard.
- Thereafter, type http://dlinkrouter.local in the web address bar.
- Hit Enter and you will reach the login page.
- Enter the username and password to access the Dlink setup wizard.
- Detect the internet connection on your network and go ahead to configure the WiFi settings.
- Assign an SSID and WiFi password to your network.
- At last, finalize the settings and click Save to close the Dlink X1560 setup wizard.
- Finally, the Dlink router setup will complete. The router will be configured properly.
NOTE: Make sure you reconnect to the router’s network to check whether it is working fine or not. If it is working fine, you must go about the D-link DIR-X1560 firmware update process.
D-link DIR-X1560 firmware update.
The firmware update is crucial for your wireless router. The firmware is a type of software embedded into your router. The firmware is a set of instructions that is responsible for functionality of your router. This section will teach you how to update your router’s firmware to the most recent version. Follow the steps below:
- Login to the Dlink router using the default web address dlinkrouter.local.
- Launch a web browser on a connected device and type the address in the URL box.
- Hit Enter and you will reach the login page.
- After that, put down the username and password of your router.
- Click Login and you will be able to access the web management console of the Dlink X1560 WiFi router.
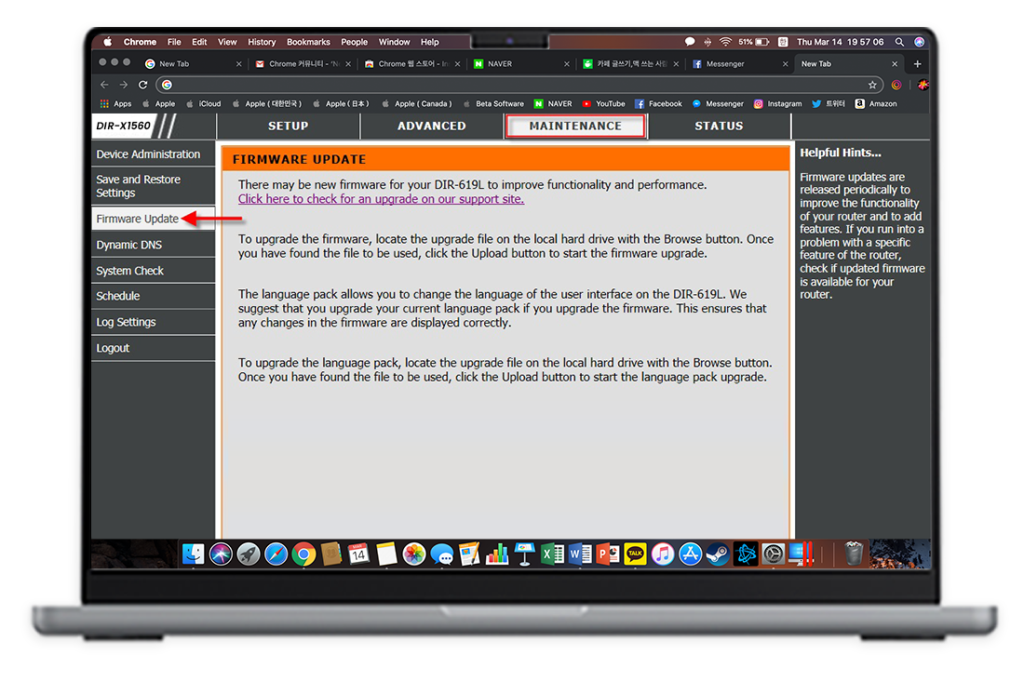
- Go to the Advanced page and look for the Firmware option.
- Select Firmware and after that follow the on-screen instructions to update your router’s software.
- Follow the on-screen prompts carefully in order to avoid any issues.
- At last, click Update.
- Wait for a few seconds to let your router process the latest update.
- Finally, click Apply.
- The D-Link DIR-X1560 firmware update will be completed successfully.
Conclusion
This page was all about the Dlink X1560 setup and firmware update. Firstly, we walked you through the basic yet easy steps to help you configure your router’s settings. Once you are done, you can proceed with the D-Link DIR-X1560 firmware upgrade process. We suggest that you follow the aforementioned steps very carefully in order to avoid any complexities.
We hope you liked this guide about the initial setup and firmware update. If you experience more such issues with your device or have any queries, feel free to talk to our support team.
If you want more about how to setup d-link dir x1560 wi fi 6 router, get connected with our team of experts.