
The Dlink extender firmware update is one of the hot topcis amongst Dlink extender users. The firmware is a critical program that is embedded into your extender. The main role of the firmware is to undertake all the operations and functions as commanded by the user or required by the system. Most functions of your device are processed with the help of the firmware, and if the firmware is outdated, the device may stop working properly.
Now, you must be wondering about the last time you updated your Dlink extender’s firmware. Well, we know that most users are unaware of this responsibility and skip the Dlink extender firmware update unknowingly. In this post, we will walk you through the steps to update your extender’s firmware to the most recent version using the default web address dlinkap.local.
However, there are a few things that we will take you through prior to updating the firmware. Please follow this post till the end.
Why Dlink Extender Firmware update is important?
We already discussed that the Dlink firmware update is one of the most important things required by your device. To help you understand the importance of an update, we have put down certain points in this section. Please refer to the points given below:
The firmware update –
- Improves overall functionality of your extender.
- Enhances the performance.
- Fixes bugs and other glitches.
- Deploys new security patches.
- Brings new features and updates to the user interface.
So these were some of the most important facts about the Dlink firmware update. Next, you will walk through the instructions to upgrade your extender to the latest version.
Steps for Dlink Extender Firmware Update
It is very easy to learn how to upgrade the firmware version of your extender without any hassle. Follow the steps below to understand the process of updating your device:
- Firstly, ensure your Dlink extender is plugged into a wall outlet and powered On.
- Secondly, make sure the extender is connected to the computer or smartphone.
- We suggest that you use your PC for this process.
- After that, open a web browser and go to the D-Link technical support website.
- Enter the serial number of your extender on the website and you will see all the suitable versions for your device.
- Download the firmware to your desktop. Make sure you do not rename the file.
- Open a new tab in the same web browser and type dlinkap.local.
- Hit Enter and you will be taken to the login page.
- Enter the Dlink extender login credentials to get inside the device.
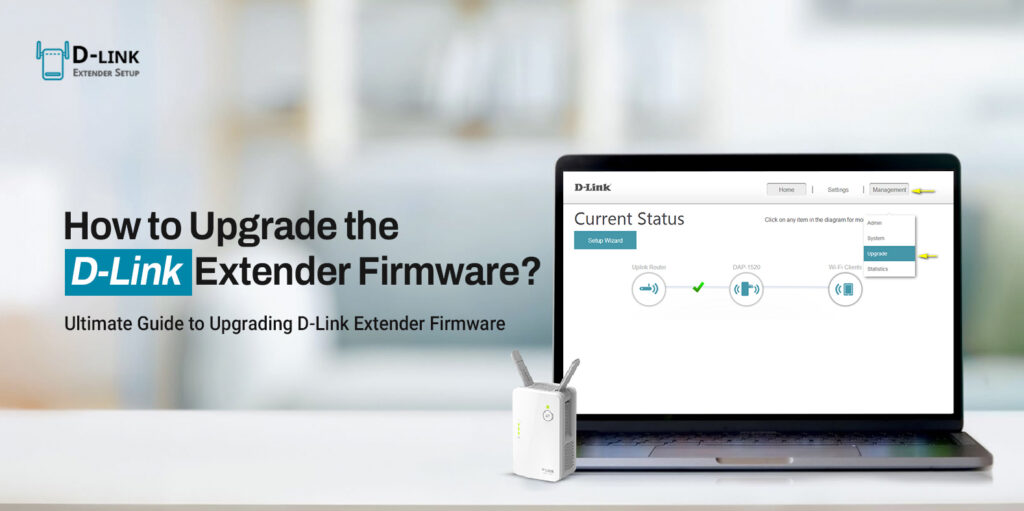
- Thereafter, select management and then click Upgrade.
- Click Select a File and select the file that you just downloaded and saved to the desktop.
- Follow the on-screen instructions to finalize the Dlink extender firmware update process.
- At last, the Dlink extender will reboot to make new changes.
Finally, the upgrade will be completed successfully. We recommend that you reconnect to your extender and check whether the internet connection is active on the network or not.
Conclusion
This post was all about the Dlink extender firmware update process. It is very easy to login to the Dlink extender using dlinkap.local and update the firmware to the latest version. All you have to do is, ensure the device does not power Off in the middle of the upgrade.
We hope you liked this upgrade guide related to the Dlink extender. Moreover, we also hope that it was very easy for you to update the firmware to the most recent version. For more assistance or answers to your queries, feel free to talk to our support team.