
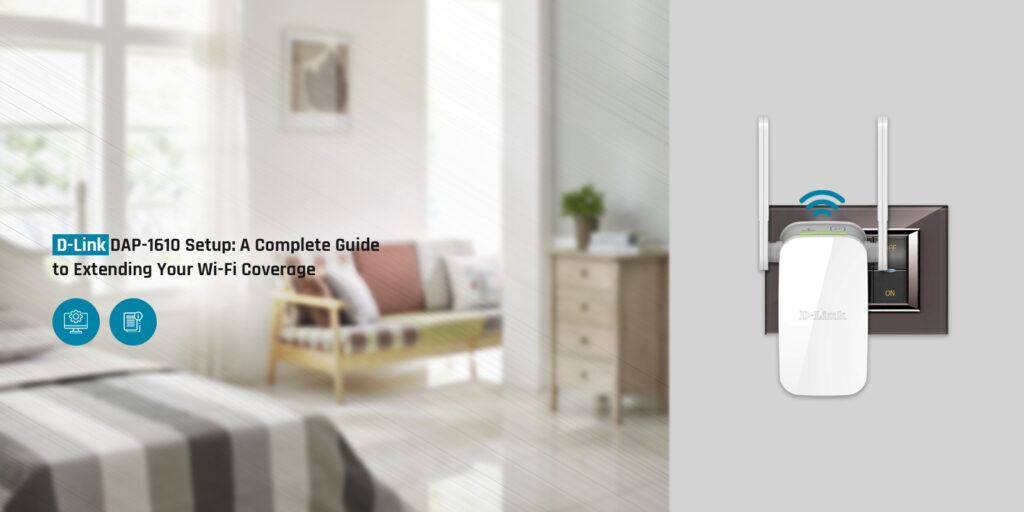
The D-Link DAP-1610 is a wireless range extender that helps in increasing network coverage. This WiFi extender will improve your router’s WiFi range and eliminate the dead zones. You can expect this extender to broaden the range and provide high-speed internet all over the house. To obtain such features from the D-Link extender, you must proceed with the D-Link DAP-1610 setup. The proper setup of the extender will ensure optimal functioning of the extender. You can set up the extender simply with the help of the correct instructions.
The procedure for the Dlink extender setup is easy. If you want to know the complete process, worry not. We are here with this ultimate guide to help users with the setup through the dlinkap.local address. This blog will consist of complete instructions and the D’Link DAP 1610 not working issue. We’ll also cover the troubleshooting methods you can use to fix the issues.
Requirements for the D-Link DAP-1610 Setup
To proceed with the Dlink extender setup, there are some things you must have. With these things, you can set up the extender correctly. These are as follows:
- Dlinkap.local
- The web browser
- An active Internet
- The default login credentials
- Your smartphone or PC
These are some things you must have to set up the D-Link extender accurately. Now, we will explain the complete process for the setup.
Methods for the D-Link DAP-1610 Setup
To proceed with the Dlink extender setup, there are two methods you can use. You can either set up the extender through the web interface or use the WPS button. For the former method, you can use the dlinkap.local address to access the login page. Then you can use the default login credentials to log in and set it up correctly. You can set up the extender within a few minutes, using the WPS button. The steps for both methods are as follows:
Dlink Extender Setup Via the Web Interface
- Firstly, place your extender and the router in the same room and power them on.
- Now, connect your smartphone or PC to the router’s network.
- You can use an Ethernet cable to connect your PC to the router.
- When a connection is made, the user interface should appear automatically.
- Otherwise, you can manually open the web interface of the extender.
- On that device, open a web browser, and enter dlinkap.local in the address bar.
- Hereon, the login page will appear on the screen of your device.
- You can log into the extender using the default username and password.
- When the user interface appears, select the WiFi Extender mode.
- The extender will scan for all the available networks around the network.
- After that, you can select your WiFi network and enter the correct password.
- Give the extender some time to form a connection successfully.
- At last, you can configure the settings, and connect your devices to it.
D-Link DAP-1610 Setup Using the WPS Button
- To begin with, keep the extender and the router in the same room and power them on.
- Now, locate the WPS button on the extender and press the button and hold it for 2 secs.
- Within 2 minutes, press the WPS button on your router to turn on the WPS feature.
- Give the extender some time to form a connection with the router successfully.
- The WPS LED on the extender will light up indicating the connection is made.
- Finally, you can connect your devices to the extender’s network.
These are the methods for the Dlink extender setup. Now, you can relocate the extender and connect your devices to the extender. The dead zones you are experiencing with your router should be gone now. If the D’Link DAP 1610 not working, keep reading ahead.
How to Fix D’Link DAP 1610 Not Working?
The D’Link DAP 1610 not working is a common issue that several users face. This issue could arise due to various reasons. We’ll also explain the D’Link DAP 1610 reset procedure, as it can fix issues within the device. You can fix this problem by following the below-mentioned methods:
Inspect the Power Source
- The extender should have a proper power source to function effectively.
- Without a proper power source, the extender will not function at all.
- Thus, ensure to plug the extender into a proper power supply.
- So, you must check the power source of the extender to see if it’s working.
- If it’s not working, you must plug the extender into another outlet.
- This should fix the D’Link DAP 1610 not working issue.
Fix your Router
- There could be issues within your router as well causing the issues.
- Thus, you must troubleshoot your router before you connect it to the extender.
- Ensure the router has a proper power source to connect it to the extender.
- You can try power cycling, firmware updating, or resetting the router to fix it.
- Also, ensure to place the extender and the router in the same room.
- Otherwise, the setup will not be successful and the issue will persist.
Connect Your Device to the Extender
- If you are having trouble accessing the dlinkap.local login page, there could be an issue.
- To access the user interface, you must connect your device to the extender’s network.
- Without a connection with the extender, you cannot access the login page.
- Thus, you must connect your smartphone and PC to the extender’s network.
- You can connect your PC to the extender using an Ethernet cable.
Move the Extender Closer
- After the setup, you can move the extender to the place where you obtain a poor signal.
- But, if you place the extender too far from the router, the connection will break.
- Thus, ensure to place inside the router’s range to ensure a seamless connection.
- You can move the extender closer to the router to fix D’Link DAP 1610 not working.
- Moreover, you can also move the router near the extender to connect successfully.
Reset the Extender
- If none of these methods are working, you can execute the D’Link DAP 1610 reset.
- The reset will fix all issues within the extender and make it as good as new.
- To reset the extender, locate the reset button on the extender.
- Now, press the reset button and hold it using a sharp object.
- When the LED light on the extender turns red, you can release the button.
- The default factory settings of the extender should be back.
- Finally, you can set up the extender and the D’Link DAP 1610 not working issue should be gone.
These are some methods you can use to fix the issues with the extender. If you had to proceed with the D’Link DAP 1610 reset, you must set it up correctly. We hope you understood the procedure for the D-Link extender DAP-1610 setup. If there’s any other issue you are having with your extender, contact us.